
Last updated October 17, 2026
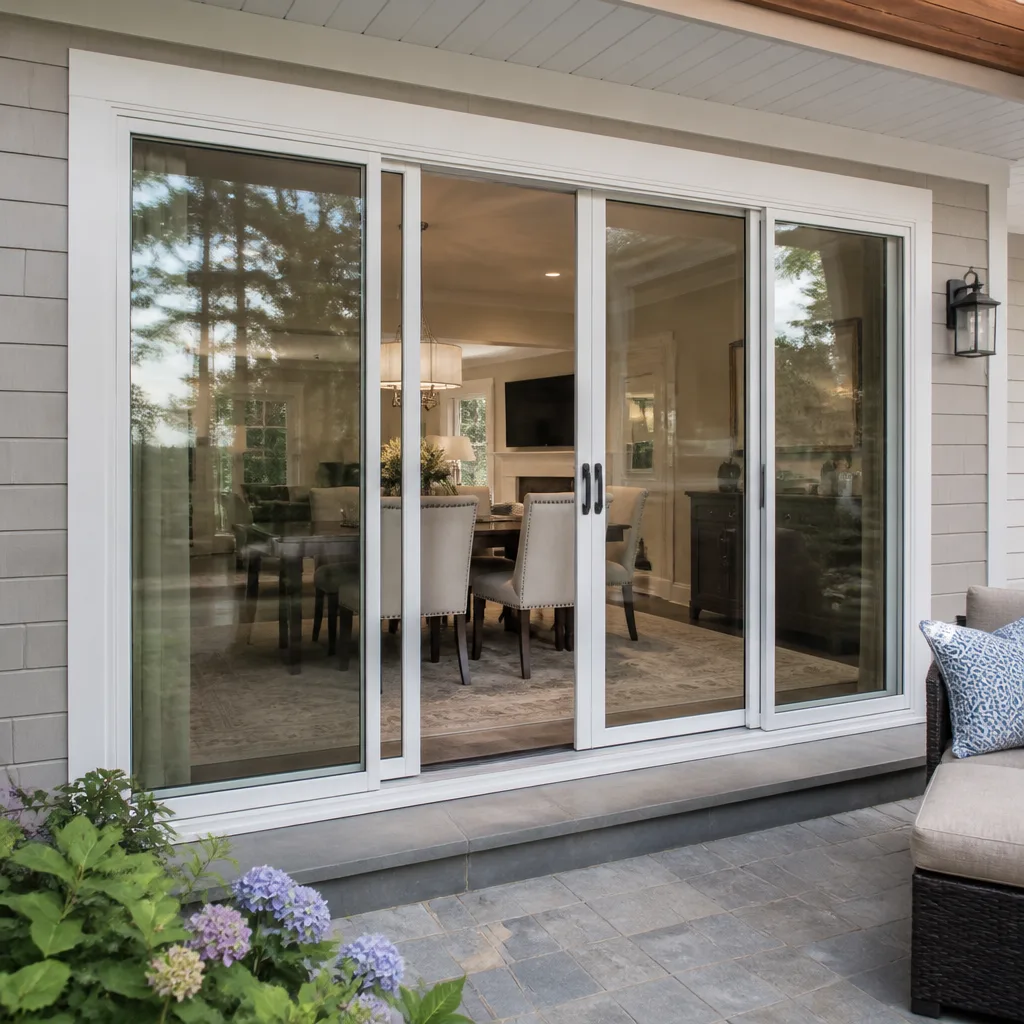 Sliding glass doors
 Single hung
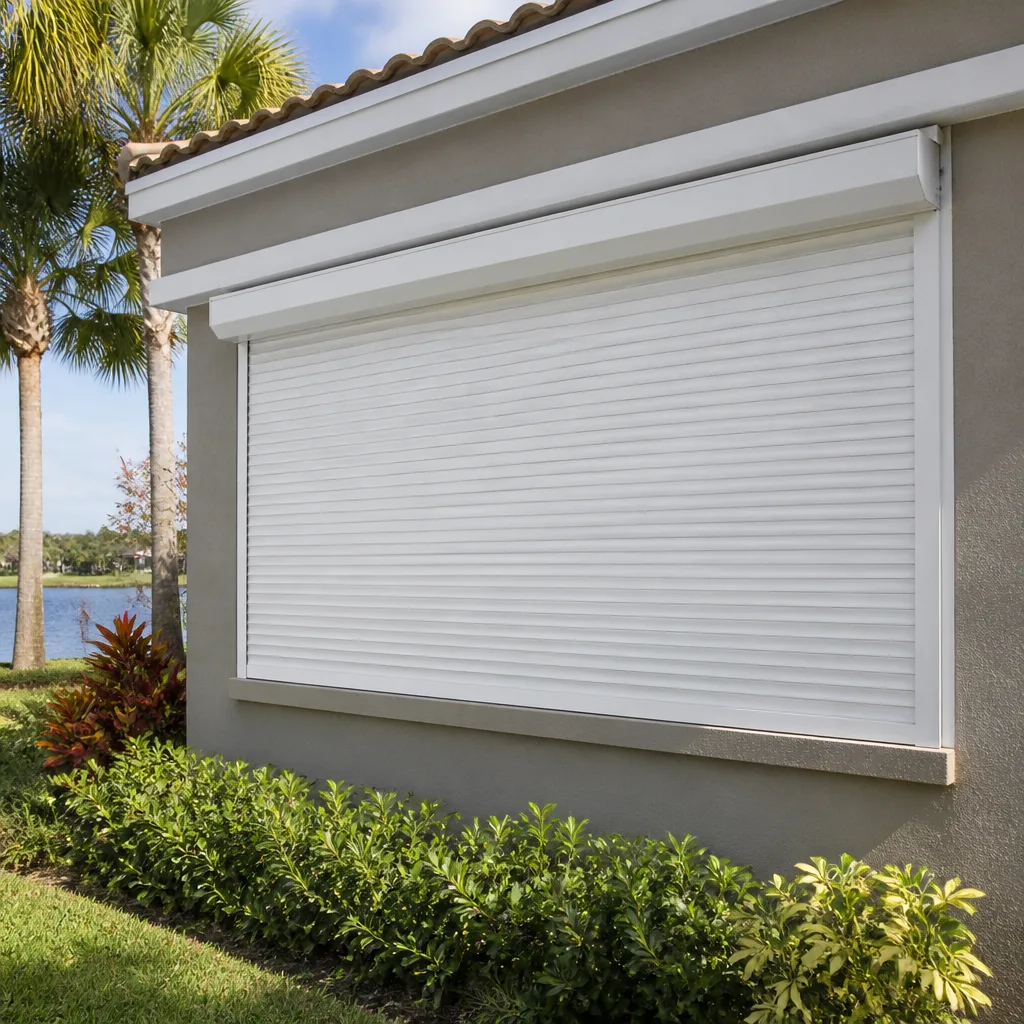 Horizontal roller
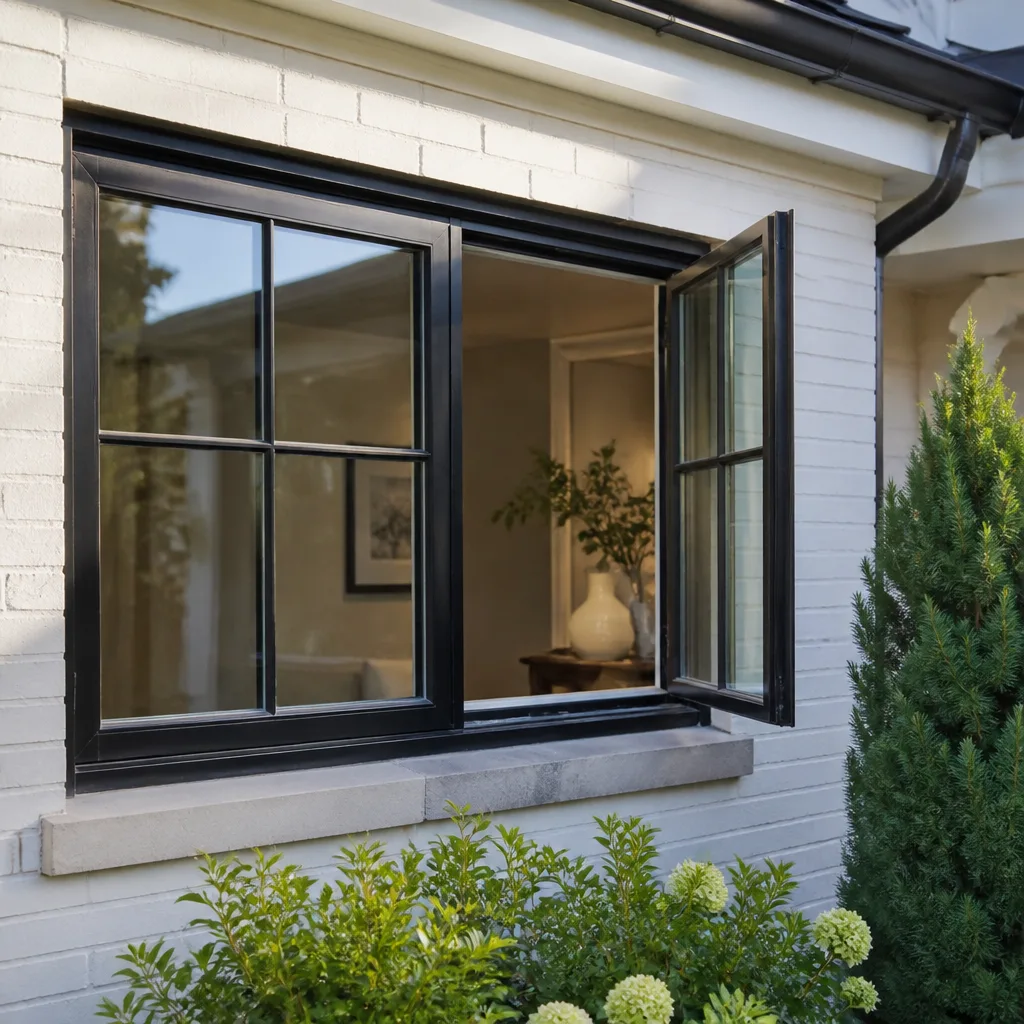 Casement
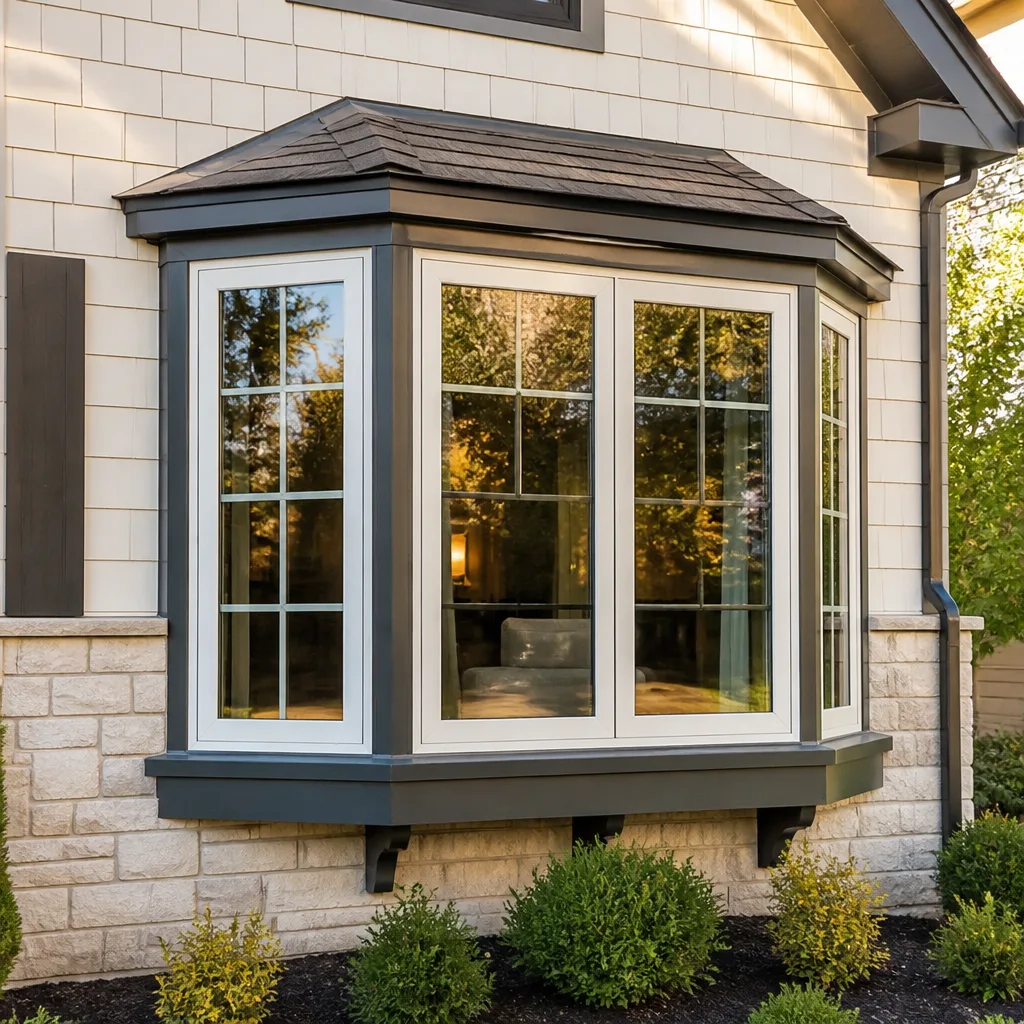 Bay & bow
 Entry doors
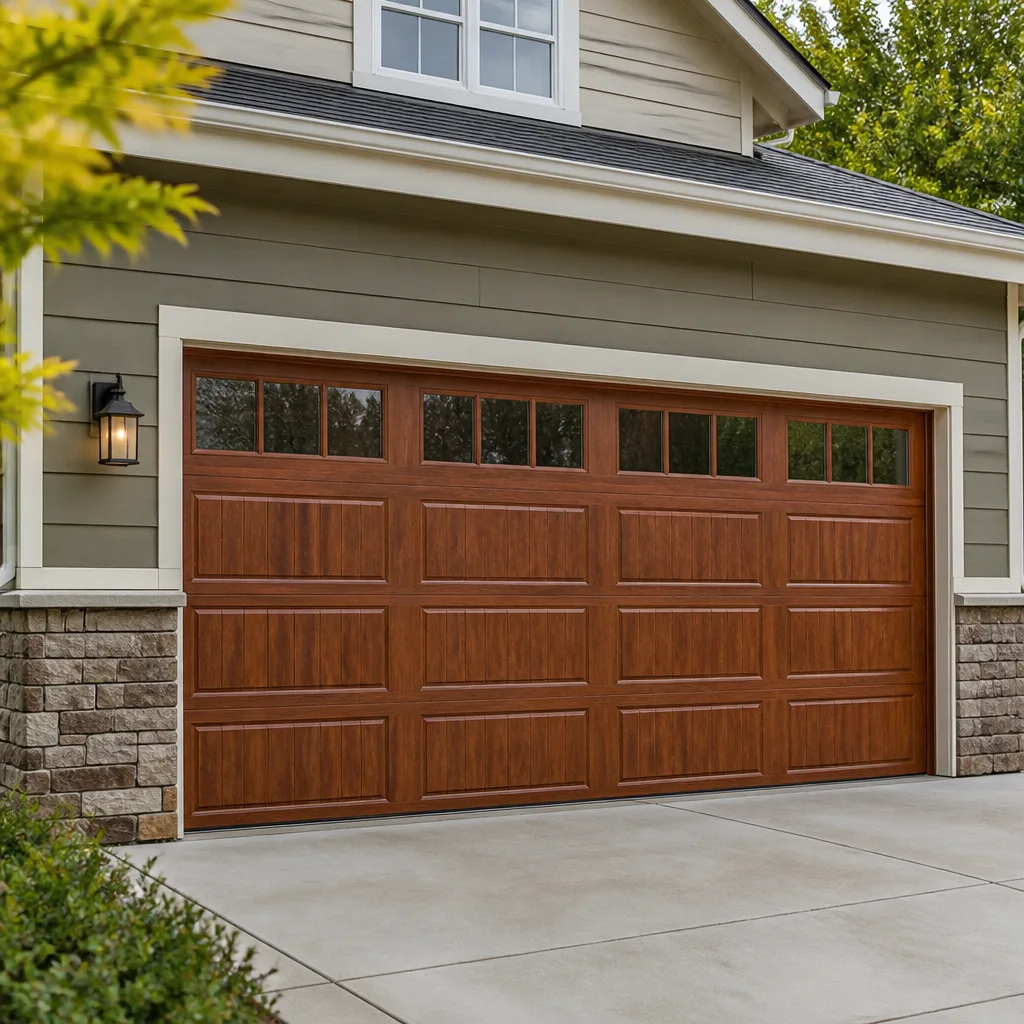 Impact garage doors
 PGT
PGT CGI
CGIFree in-home measure and quote - PGT, CGI and CWS impact lines compared on your actual openings, style by style
Get your free estimateSeasonal Windows & Doors Care for Tampa: Year-Round Homeowner’s Guide
Most weatherstripping in Tampa fails not in August when it’s soaked, but in January and February when the dry air shrinks it away from the frame – a gap that’s invisible until the next rainy season drives water through it. We’ve walked into homes in South Tampa and Carrollwood where the seals looked fine from six feet away, but a flashlight at the sill revealed daylight coming through. This guide, along with our more guides & resources, organizes window and door maintenance around the two seasons that actually govern Tampa: the wet months that test every seal, and the dry months that quietly undo them. By the end, you’ll know exactly what to check, what to fix yourself, and what to leave to a professional.
Styles & brands we work with
Quick Answer
Seasonal window and door care in Tampa should be organized around two primary periods: a pre-hurricane preparation window from April through May, and a post-hurricane dry-season maintenance window from November through February. Twice a year, homeowners should inspect and lubricate tracks and hinges, test all weatherstripping against visible light gaps, clear weep holes, and check threshold seals. Homes within five miles of Tampa Bay or the Gulf need an additional salt-air protocol that includes quarterly hardware inspections for aluminum oxidation and corrosion. Most window replacements in Tampa run between $600 and $1,200 per opening depending on product line and structural work involved; see our Windows & Doors Cost Breakdown: The Tampa Homeowner’s Reference for 2026 for full pricing context.
Table of Contents
- Why Tampa Has Two Seasons That Matter for Windows and Doors
- Pre-Hurricane Season: April Through May
- Post-Hurricane and Dry Season: November Through February
- Salt-Air Exposure Protocol for Coastal Hillsborough Homes
- How to Test and Reset Door Threshold Seals After a Wet Season
- Storm Shutter and Panel Storage Checks
- UV-Resistant Lubricants for Tampa’s Zone 2 Climate
- Common Mistakes to Avoid
- When to Call a Professional
- Frequently Asked Questions
- The Bottom Line
Why Tampa Has Two Seasons That Matter for Windows and Doors
Northern maintenance calendars don’t translate to the Gulf Coast. Up north, winter means frozen pipes and ice dams. Here, our risk profile inverts. Tampa’s two governing seasons are the six-month Atlantic hurricane season, running June 1 through November 30, and the dry-season stretch from roughly November through February, when relative humidity routinely drops below 45% for weeks at a time. Both seasons damage windows and doors in different, compounding ways.
The wet season works like a stress test. Constant moisture, daily thermal expansion, and wind-driven rain push against every seal, gasket, and weatherstrip on your home’s envelope. The dry season is quieter but more insidious. With less moisture in the air, rubber weatherstripping dries out, shrinks, and loses compression memory. Wood frames, particularly thresholds, contract and cup. The result is that most drafts and leaks homeowners discover in July actually began as failures in January. Understanding this rhythm changes how you schedule your maintenance, and it’s the reason we organize this guide around these two windows rather than four seasons.
In our experience across Tampa neighborhoods from Westchase to Seminole Heights, the homes that perform best through hurricane season are not the ones with the most expensive windows. They’re the homes where someone tests the seals twice a year and replaces a $12 weatherstrip before it becomes a $1,200 water-damage repair. For a fuller picture of what Window Replacement in Tampa involves at our end, we’ve documented the product options and pricing factors separately.
Pre-Hurricane Season: April Through May
The six weeks before June 1 are the most important maintenance window on your calendar. The ground has dried out enough to work at exterior surfaces, and you still have time to order parts, schedule repairs, or make a replacement decision before the first named storm forms. Here’s the sequence we recommend, based on what we see failing most often in Tampa homes each year.
- Inspect every window’s weatherstripping with a flashlight. Close and lock each window, then run a bright flashlight along the inside of the sash perimeter at night. If you see light spilling through the weatherstrip, water will find that same gap during a driving rain. Mark each failing window with a piece of painter’s tape.
- Clear all weep holes. Every window frame has small drainage channels at the bottom sill. Tampa’s pollen, dirt, and insect debris clog these constantly. Use a straightened paperclip or a can of compressed air. A clogged weep hole traps water inside the frame, which migrates into wall cavities over time.
- Lubricate sliding window tracks and door rollers. Use a dry silicone spray or a UV-resistant PTFE lubricant, not WD-40, which attracts grit and turns into a grinding paste. Spray the track, run the window or door back and forth several times, then wipe excess with a clean cloth.
- Test the locking mechanisms under tension. A lock that engages with resistance is doing its job. If the lock is loose, the window can flex under wind load, and flex is what breaks seals and shatters glass units. Tighten all visible screws on locks, hinges, and handle sets.
- Examine exterior caulking at every frame perimeter. Look for cracks, gaps, or caulk that has pulled away from the stucco or siding. Tampa’s afternoon thunderstorms drive water sideways, and failed exterior caulk is the number one cause of window-related wall staining we see in South Tampa and Palma Ceia.
- Test your door sweeps. Close each exterior door and look underneath. A healthy sweep touches the threshold evenly across its width. If you see daylight or feel air moving, replace the sweep before the wet season begins.
If you find multiple failed seals or locks that won’t tighten, that’s a signal your windows are reaching the end of their service life. Rather than spending the year patching, you might consider comparing options. Our Window Installation in Tampa guide walks through what the process looks like from measurement day to final cleanup.
Post-Hurricane and Dry Season: November Through February
When the last storm has passed and the Gulf starts to settle, shift your attention from keeping water out to protecting your window and door components from Tampa’s dry-season air. This is the period when most weatherstripping in Tampa fails, and the failure is almost always invisible until the following June.
Here’s the dry-season protocol:
- Feed dried-out weatherstripping. Rubber and vinyl weatherstripping needs conditioning. Apply a thin coat of a rubber-safe protectant like 303 Aerospace Protectant or a silicone-based conditioner to all weatherstripping surfaces. This restores elasticity and prevents the shrinkage that opens gaps. Do this in January, when the air is driest, not in March when the humidity is already returning.
- Check for shrinkage gaps at window corners. Dry air contracts weatherstrip. Walk the perimeter of each window and look specifically at the corners, where tension is highest. If the seal has pulled back even an eighth of an inch, mark it. Those are your leak points come June.
- Inspect wood thresholds for cupping. Wood doorsills in Tampa go through extreme moisture cycling every year. In the dry season, the top of the threshold dries faster than the bottom, causing upward cupping at the edges. Run your hand across each threshold. If the edges have lifted, that’s a tripping hazard and a water-entry point.
- Re-tension door hinges. Dry air loosens the screws in wooden door frames as the wood contracts. A door that rubs the frame in January was probably fine in September. Tighten every hinge screw, and if any screw spins without resistance, replace it with a longer one that bites into fresh wood.
- Vacuum and clean sliding glass door tracks. The dust of dry season is finer and more abrasive than wet-season debris. Vacuum door tracks thoroughly, then wipe with a damp cloth and re-lubricate with a dry silicone spray.
- Re-caulk interior seams if you see cracking. Interior caulk fails from the same dry-air shrinkage that affects weatherstripping. Check the joints where window and door trim meet the drywall. Small cracks are cosmetic. Deep gaps let conditioned air escape and moist outdoor air intrude.
This is also the ideal season for any window or door replacement project in Tampa. Dry conditions mean cleaner installations, better caulk adhesion, and a more predictable schedule with less humidity-related material expansion. For door projects specifically, our Door Installation in Tampa page explains what to expect from start to finish.
Salt-Air Exposure Protocol for Coastal Hillsborough Homes
If your home sits within five miles of Tampa Bay or the Gulf of Mexico, you have a maintenance burden that inland homeowners don’t. Salt air is a persistent abrasive and corrosive, and it doesn’t wait for hurricane season. Homes in Davis Islands, Beach Park, Bayshore Beautiful, Westshore, and anywhere along the Courtney Campbell corridor need a quarterly protocol, not a twice-yearly one.
Salt air attacks window and door components in three specific ways:
- Aluminum frame oxidation. Salt deposits accumulate on aluminum frames and begin to pit the mill finish and anodized surfaces. Left uncleaned, this oxidation eventually compromises the frame’s structural corners, especially where the frame meets the sill.
- Hardware corrosion. Locks, hinges, handle sets, and roller assemblies rust and seize faster near salt water. We’ve seen coastal Tampa homes where window locks froze solid within five years of installation because the hardware was never rinsed.
- Screen frame deterioration. Aluminum screen frames corrode at the corners first, where the screen spline puts constant pressure on the metal. Once a corner fails, the screen sags, and the opening is no longer pest-barrier.
- Rinse all exterior window and door frames with fresh water. Use a garden hose on a gentle spray setting. Do not use a pressure washer, which drives salt and water past the weep holes and into the frame channels. Rinse monthly during peak sea breeze months.
- Wipe down all visible hardware. After rinsing, dry each lock, hinge, and handle with a clean microfiber cloth, then apply a light coat of corrosion inhibitor to all metal-to-metal contact points.
- Inspect screen frames at every corner. Push gently on each corner. If the corner moves independently from the rest of the frame, it’s failing. Replace the screen while the frame is still structurally sound.
- Check the exterior caulk joints more often. Salt accelerates caulk degradation. Quarterly inspection is the minimum for coastal homes. If you see chalky residue or hairline cracks in the caulk bead, plan to re-caulk that joint within the month.
- Visual check at the threshold ends. Look at the joint where the threshold meets the door jamb on both sides. If you see any gap, any daylight, or any darkened wood, the seal has failed at that point.
- Press test. Stand on the threshold and rock your weight from heel to toe. Does the threshold flex or shift under your weight? A properly seated threshold is rigid. Movement means the adhesive underneath has released.
- Water test. On a dry day, pour a cup of water directly onto the threshold directly in front of the door sweep. Wait five minutes. Then open the door and run a paper towel along the interior side of the threshold. Any moisture transfer means the threshold is channeling water inward instead of shedding it outward.
- Extend every accordion shutter fully and verify track movement. Accordion shutters seize at the track joints over time, especially on homes near the water where salt corrosion builds up inside the track channels. Spray the tracks with a dry silicone lubricant and work each panel back and forth through its full range.
- Verify all locking rods and retaining pins are present and functional. For panel systems, count every panel and confirm the locking rods and wing nuts are stored with the panels, not scattered in the garage. A missing wing nut is a $3 part that becomes impossible to source when a hurricane is bearing down.
- Test the panel alignment before you need it. Install at least one panel on each side of your home. You’re not checking for fit only; you’re also confirming the anchor points haven’t been damaged by landscaping, pressure washing, or pest intrusion since last season.
- Inspect all shutter mounting bolts and screws for rust or looseness. In Tampa’s environment, even galvanized hardware degrades over time. Replace any fastener that shows red rust or any bolt that turns without resistance.
- Clean and dry everything before storage. Salt and grime left on shutters in storage accelerates corrosion. Rinse all panels, let them dry completely, and store them in a dry, elevated location off the garage floor.
- Dry silicone spray for sliding window tracks and door tracks. It leaves no oily residue, repels dust, and holds up through months of UV exposure. Apply every six months.
- PTFE (Teflon) spray lubricant for door hinges, lock cylinders, and handle mechanisms. PTFE bonds to metal and provides a durable, non-greasy film that resists salt and oxidation.
- Silicone-based rubber conditioner for weatherstripping. Never use petroleum-based products on rubber seals; petroleum degrades rubber compounds and accelerates the exact failure you’re trying to prevent.
- Marine-grade corrosion inhibitor for all exposed hardware on homes within five miles of the water. Look for products labeled for marine or coastal use, and reapply quarterly during hurricane season.
- Using WD-40 on window tracks or door rollers. WD-40 is a water displacer, not a lubricant. It attracts dust and grit, turns gummy in Tampa’s heat, and accelerates the wear it was supposed to prevent. Use dry silicone or PTFE spray instead.
- Ignoring weep holes until water appears inside. A clogged weep hole is invisible until a driving rain pushes water into the frame. Clean them every spring, even if they look fine. The clog that matters is the one you can’t see from outside.
- Testing weatherstripping by feeling for drafts. Your hand cannot detect the small gaps that matter. Use the flashlight test properly: close and lock the window, then run the light along the entire perimeter from the inside. You’ll see what your skin can’t feel.
- Skipping the post-hurricane inspection. Even if the storm passed without visible damage, wind-driven rain can delaminate seals and leave your home vulnerable to the next storm. A half-hour inspection in November finds problems while they’re still cheap to fix.
- Applying fresh caulk over old caulk. Caulk bonds to the surface, not to old caulk. The new bead will peel within months. Cut out the old material, clean the joint, and apply fresh bead to clean surfaces only.
- Storing storm panels wet or directly on the garage floor. Humidity in Tampa garages is high enough to corrode panels within a season. Store panels dry, elevated, and covered in breathable material, not plastic sheeting that traps moisture.
- Wait to check shutter hardware until a storm is approaching. By the time a storm is in the Gulf, every locksmith and shutter repair company in Hillsborough County is booked solid. The time to verify your shutters is May, not during the 72-hour pre-landfall window.
For coastal Hillsborough properties, add these steps to your quarterly routine:
For homes in these coastal zones, choosing the right product from the start matters more than anywhere else. We carry lines like ES Windows and ECO Window Systems, manufactured with coastal applications in mind, and our team can help you weigh the frame material trade-offs specific to your block’s salt exposure.
How to Test and Reset Door Threshold Seals After a Wet Season
Door thresholds fail differently in Tampa than nearly anywhere else in the country. The repeated moisture cycling, from daily summer downpours to dry-season contraction, breaks the adhesive bond between the threshold and the framing beneath it. The threshold looks fine from above, but water that reaches the door sweep gets underneath and travels into the subfloor. By the time you see staining at interior baseboards, the damage has already spread.
Here’s how to test whether your thresholds are still properly sealed:
If you find a failed threshold, the fix depends on the damage. A threshold that has simply unscrewed can be reset with fresh construction adhesive and new screws into the subfloor. A threshold that has cupped or split needs replacement, and that’s a job where precision matters: even a quarter-inch of height difference changes how the door sweep contacts the threshold, which changes your home’s air sealing and pest barrier. This is one of the most common repairs we perform during our Lightwell Windows Tampa home service calls in the spring, when homeowners discover winter’s damage at the first heavy rain.
Storm Shutter and Panel Storage Checks
This is the most overlooked maintenance category in Tampa. Homeowners with accordion shutters or panel systems on impact windows spend thousands on storm protection and then never verify that it works until a named storm is 72 hours out. By then, if a track is frozen or a panel is missing, the options are limited.
Here’s the annual protocol, best scheduled for early May:
If your shutters haven’t been deployed in three or more years, or if the tracks are heavily corroded, schedule a professional inspection before hurricane season peaks in August and September. A shutter system that fails during its first deployment is worse than having no shutters at all, because it creates a false sense of protection that delays your call for help.
UV-Resistant Lubricants for Tampa’s Zone 2 Climate
Tampa sits in the International Code Council’s Climate Zone 2, which means high heat, high humidity, and intense ultraviolet exposure for most of the year. The UV radiation is particularly hard on organic lubricants. Standard petroleum-based products break down in weeks, and WD-40 becomes a sticky, gritty mess that accelerates wear on sliding tracks and screen frame corners. The wrong lubricant does more damage than no lubricant at all.
Here’s what to use in a Zone 2 climate:
Screen frame corners deserve specific attention. The corner keys in a standard aluminum screen frame are plastic, and they’re under constant tension from the screen spline. UV exposure embrittles these corner keys over time. When the corner key cracks, the frame loses its structural squareness and the screen sags. A PTFE-based lubricant at each corner, applied twice a year, reduces the friction that causes premature cracking. This is a five-minute task that extends the useful life of every window screen in your Tampa home by several years.
Common Mistakes to Avoid
When to Call a Professional
Many maintenance tasks in this guide are DIY-friendly. But some are not, and pushing through them can mean compromising your home’s hurricane resistance or voiding a manufacturer warranty. Call a professional if you find any of these: a window that won’t close flush against its frame despite your tightening efforts; visible water staining at the interior sill or baseboard with no clear source; a door threshold that rocks or flexes under weight; shutters with seized tracks or heavily corroded mounting hardware; or multiple failed seals across different windows. These are the signs of systemic envelope problems, not localized wear. At Lightwell Windows Tampa, we inspect, diagnose, and quote for free across Tampa, and we’ll tell you honestly if a repair makes more sense than a replacement. Call (850) 360-6785 to schedule a free estimate, and know that a live person will answer.
Frequently Asked Questions
Most window replacements in Tampa run between $600 and $1,200 per opening, depending on frame material, glass package, product line, and structural work required. Coastal homes with impact-rated requirements typically fall at the higher end. We provide a written, itemized price before any work starts, so the number you agree to is the number you pay. Call (850) 360-6785 for a free estimate and an exact quote for your home.
Twice a year is the minimum: once in April before hurricane season and once in January during the dry stretch when dust is finest. Coastal homes within five miles of Tampa Bay need lubrication quarterly because salt air degrades lubricants and accelerates track wear. Use a dry silicone spray or PTFE lubricant, never WD-40. Call (850) 360-6785 if you’re unsure which product matches your hardware.
Impact windows still require the same weatherstripping, track, and hardware care as standard windows. Their laminated glass is stronger, but the seals around that glass are still vulnerable to Tampa’s UV exposure and thermal cycling. The maintenance burden shifts from storm protection to seal integrity. We recommend the same twice-yearly inspection schedule for impact and non-impact windows alike. Call (850) 360-6785 to schedule a maintenance inspection with our team.
A failed weatherstrip shows one of three signs: visible light passing through the seal when tested with a flashlight at night, a rough or textured feel where the rubber has hardened and lost elasticity, or shrinkage gaps at the window corners where the stripping has pulled back from the frame. Any of these means water will eventually find the gap. Call (850) 360-6785 to have our team assess whether it’s a repair or replacement situation.
A threshold that has simply unscrewed or released its adhesive can be reset with fresh construction adhesive and new fasteners. A threshold that shows cupping, splitting, or visible water damage at the ends needs replacement. The distinction matters because a replacement must match the door sweep height or you’ll create an air and water gap. We can measure and quote this repair for free. Call (850) 360-6785 to schedule.
Yes. We handle routine maintenance, component repair, and full window and door replacement throughout Tampa. Our team carries products from eight manufacturer lines including ES Windows, ECO Window Systems, Mr-Glass, and Therma-Tru, so the recommendation fits your home rather than our preferred vendor. Every job starts with a written price. Call (850) 360-6785 to schedule a free estimate and discuss your specific needs.
The Bottom Line
Tampa doesn’t reward generic seasonal maintenance. It rewards homeowners who understand the two-season rhythm: the wet months that test everything, and the dry months that quietly unwind it. Twice-a-year inspections, the right lubricants, clean weep holes, tested thresholds, and ready shutters will do more to extend the life of your windows and doors than any product upgrade. For homes near the water, add the salt-air quarterly protocol and your components will last years longer than the untreated house next door. The most valuable skill you can develop is a simple flashlight test. The second is knowing when to call someone who does this work every day.
Written by Keith Yamada, Owner at Lightwell Windows Tampa, serving Tampa since 2010.
See the difference
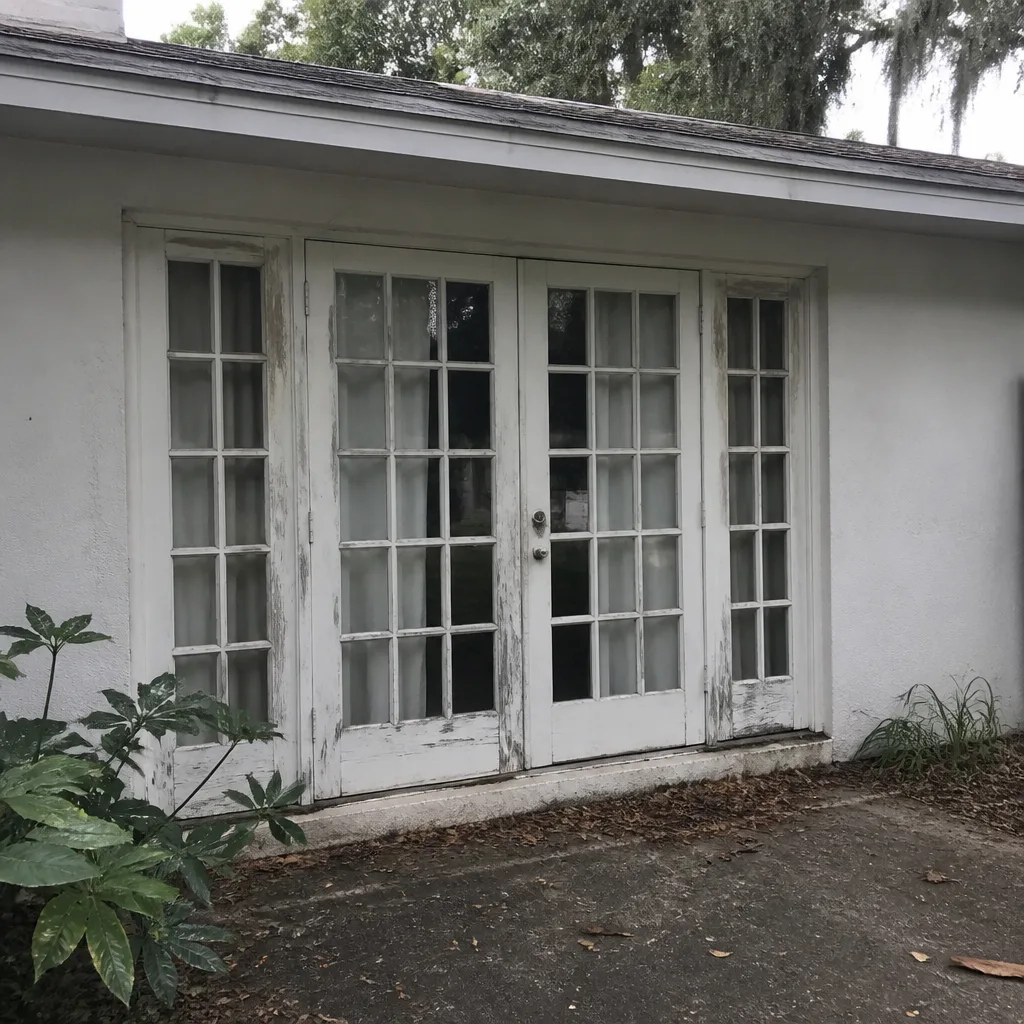 Before
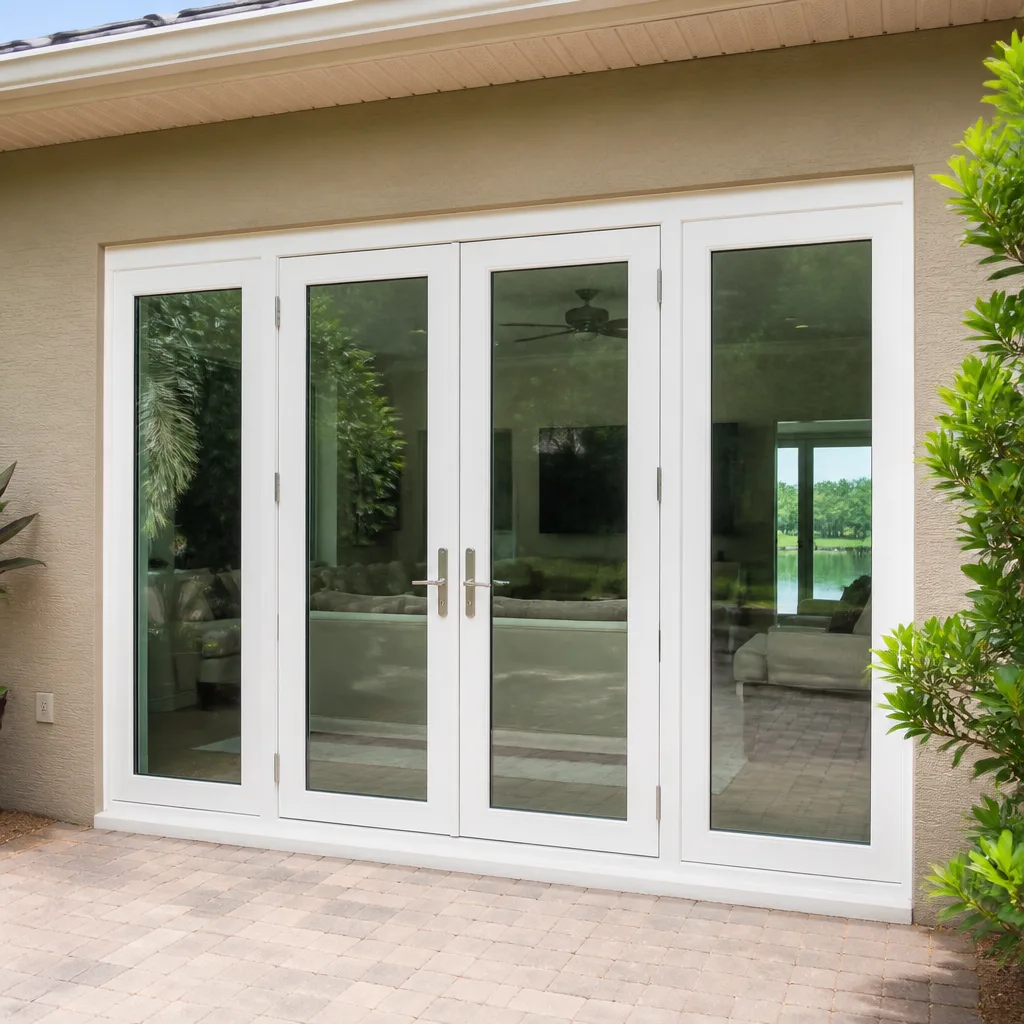 After
After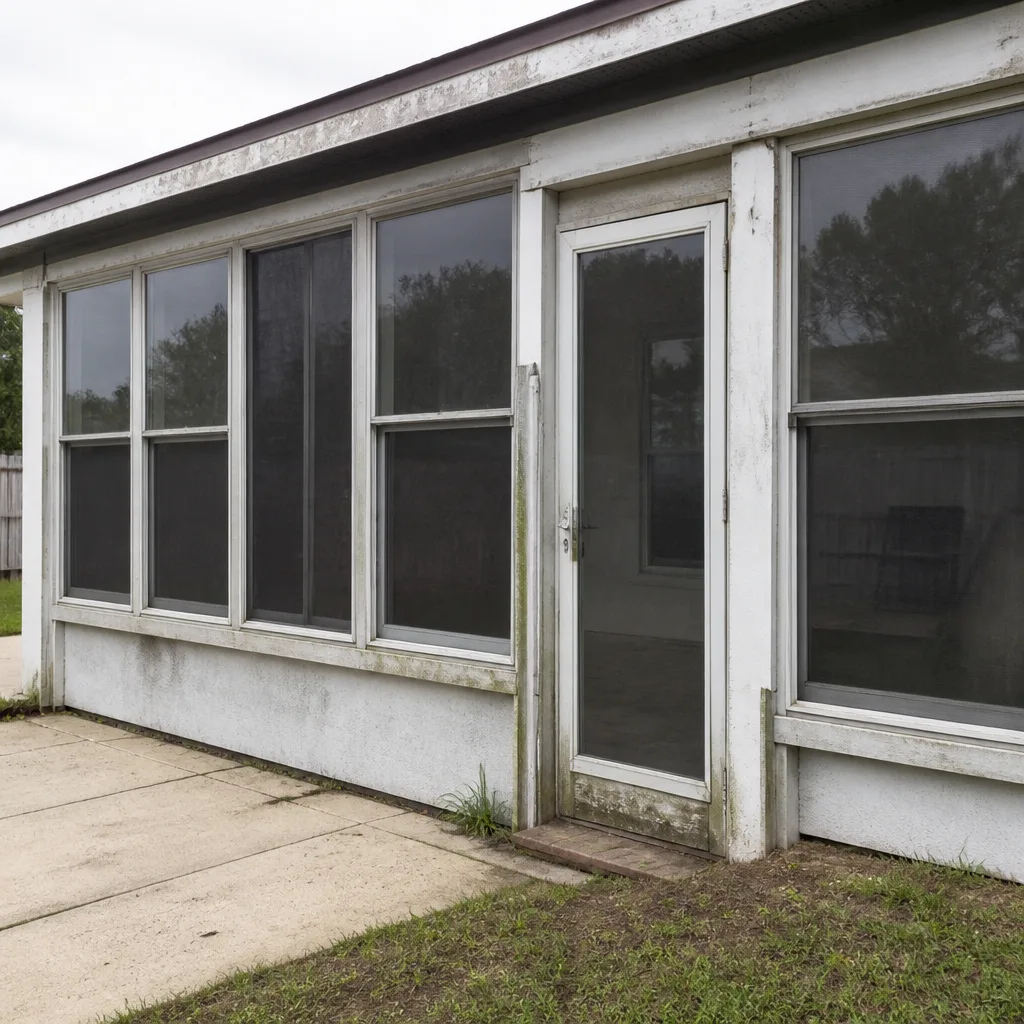 Before
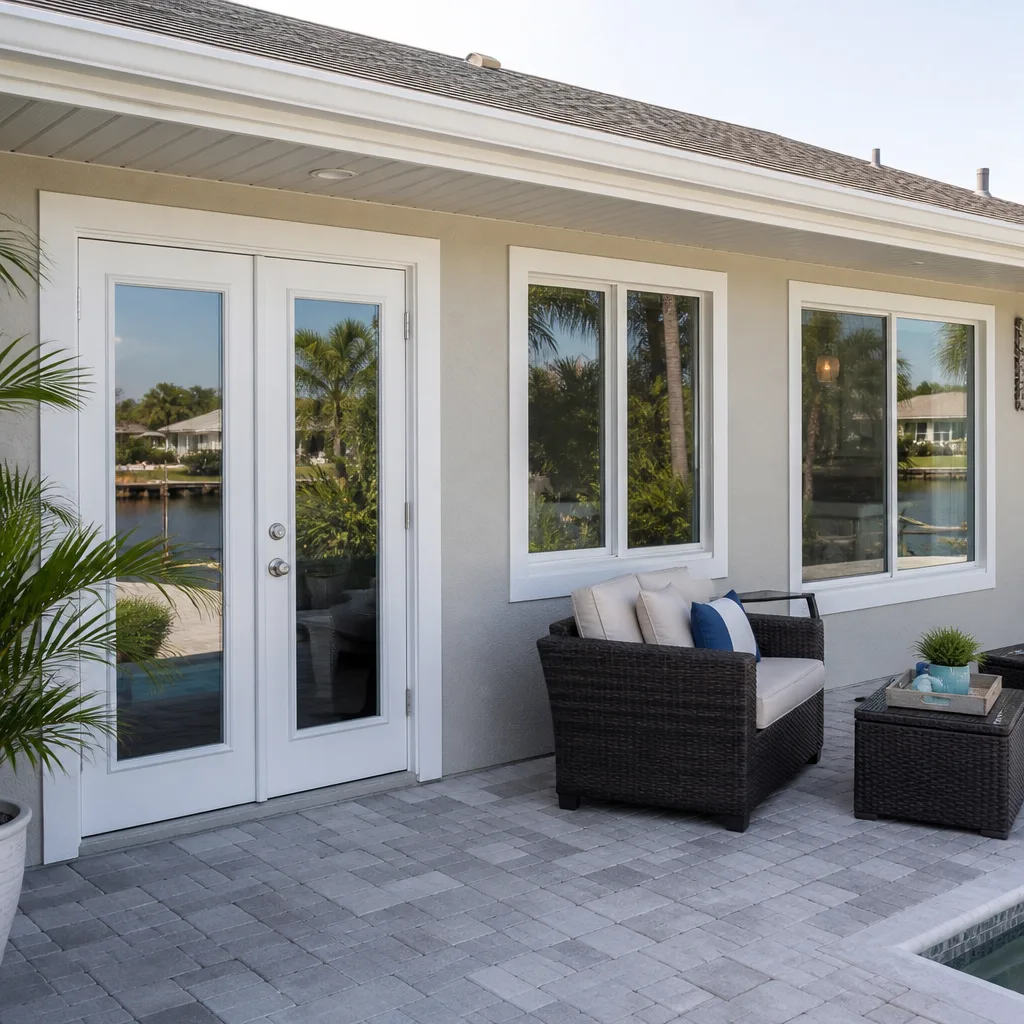 After
After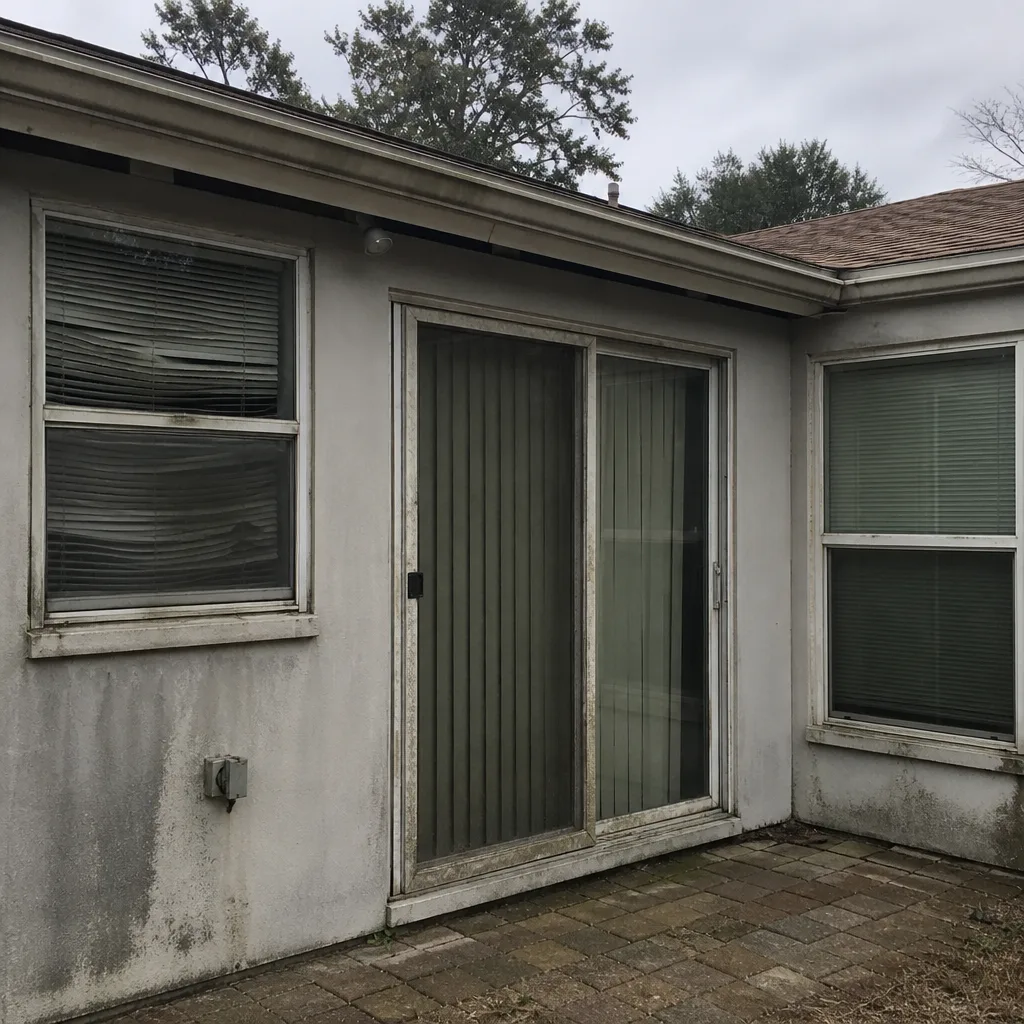 Before
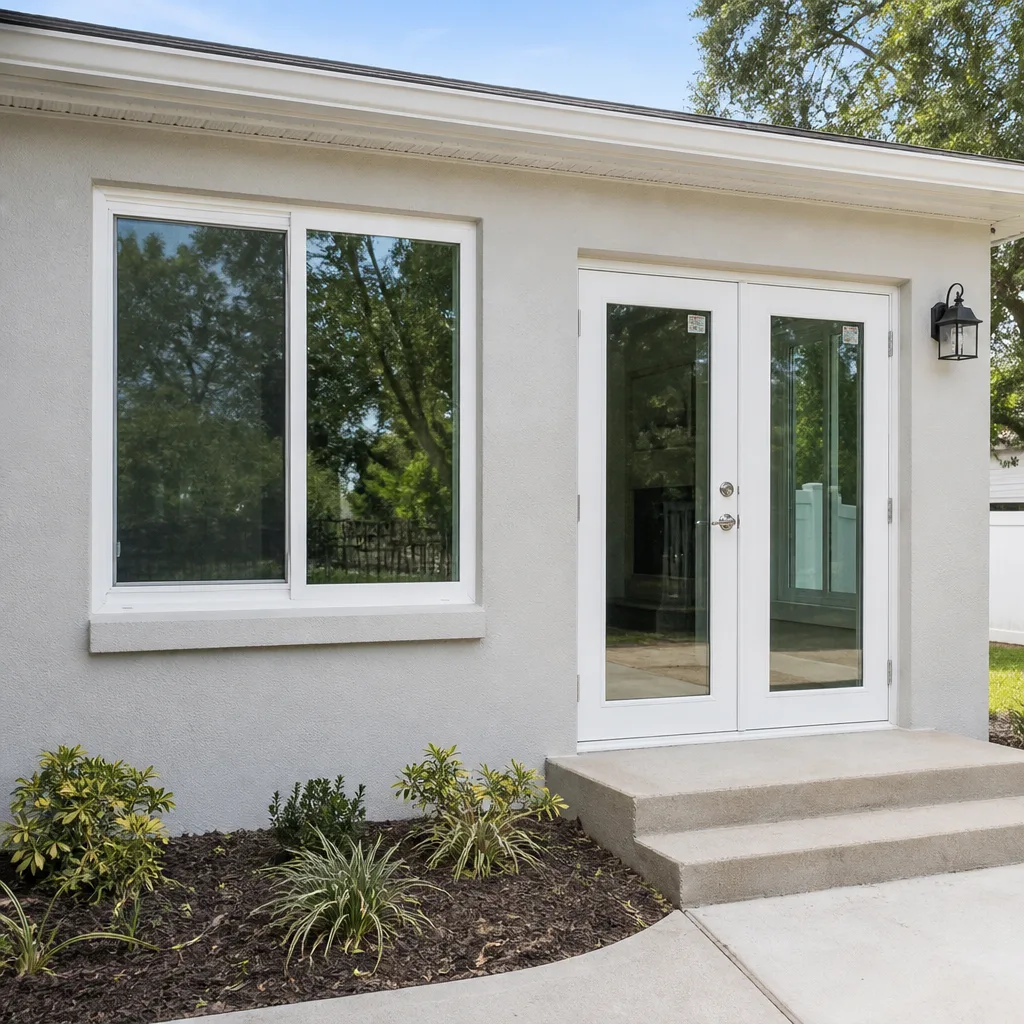 After
AfterSix Reasons Homeowners Choose Lightwell Windows Tampa
Impact systems engineered to design pressures up to +/-100, matched to your wind zone - your openings hold when the storm arrives.
Low-E insulated impact glass from our manufacturer lines commonly cuts monthly cooling bills 20-30%.
Laminated impact glass shuts out up to 40% of outside noise - traffic, neighbors, weather.
Monitoring services run $30-90 a month. Laminated impact glass resists forced entry around the clock, with no subscription.
Florida homeowners average around 25% savings on the windstorm portion of their policy after protecting every opening - some homes qualify for more.
A full impact package upgrades curb appeal, buyer confidence and appraised value in one project.