
Last updated October 17, 2026
 Single hung
 Horizontal roller
 Casement
 Bay & bow
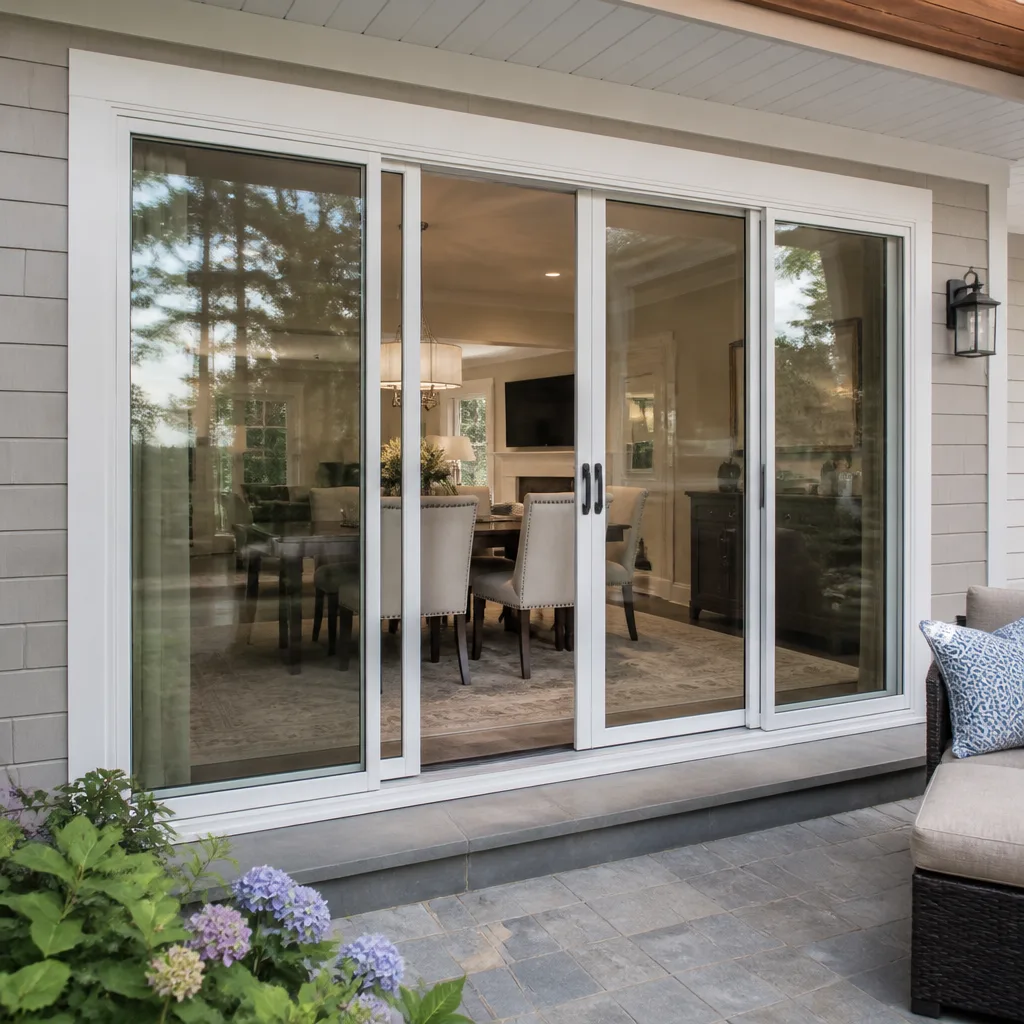 Sliding glass doors
 Entry doors
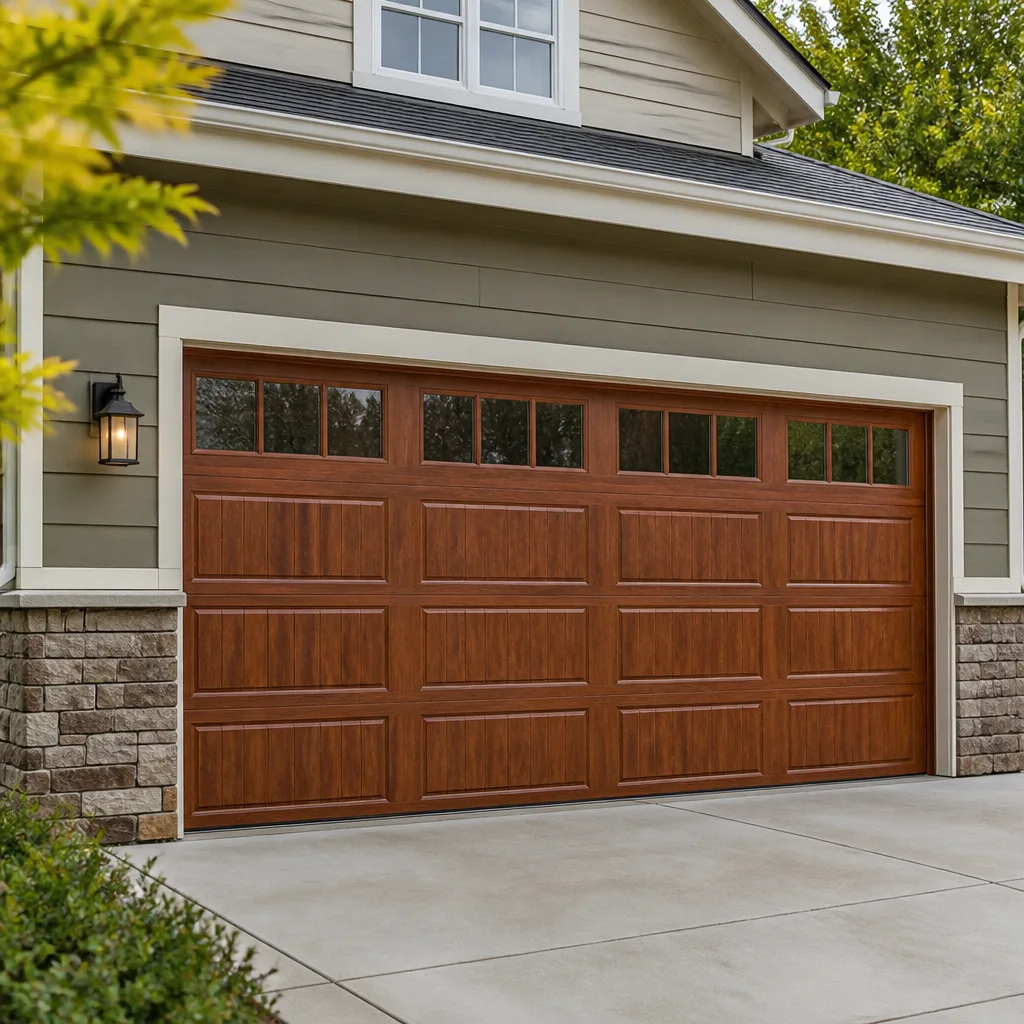 Impact garage doors
 PGT
PGT CGI
CGIFree in-home measure and quote - PGT, CGI and CWS impact lines compared on your actual openings, style by style
Get your free estimateWindow Replacement Maintenance Checklist for Tampa Homeowners
Here’s a fact most Tampa homeowners never hear: the most common reason a five-year-old impact window starts leaking isn’t the glass or the frame. It’s a degraded sealant bead that a ten-minute annual check would have caught before the first wet season rolled in. Salt air, 70 inches of annual rainfall, hurricane-force wind gusts, and relentless UV take turns working on every window opening in your house. This guide gives you the exact inspection sequence, timed to Tampa’s actual calendar, that will extend the life of replacement windows by years. We’ll cover what to check, when to check it, what you can do yourself, and what needs a licensed contractor.
Quick Answer
A Tampa window maintenance checklist should follow two passes per year: a May pre-hurricane inspection of sealants, drainage, and impact glass condition, and an October post-season check for storm damage, followed by light quarterly care like track cleaning and hardware lubrication in January. The core tasks are cleaning weep holes, inspecting perimeter caulk and glazing beads, checking for seal failure condensation between panes, and keeping tracks free of sand and debris.
Styles & brands we work with
Table of Contents
- Why Tampa Windows Fail Differently
- The Tampa Month-by-Month Maintenance Schedule
- Monthly Visual Inspection: A 10-Minute Walkthrough
- How to Inspect Sealant and Caulk on Vinyl Frames
- Impact Glass vs. Standard Insulated Glass: What to Inspect
- Sliding Door Hardware Checklist for Tampa Homes
- Warranty Compliance: What You Must Document vs. What Voids It
- Common Mistakes to Avoid
- When to Call a Professional
- Frequently Asked Questions
Why Tampa Windows Fail Differently
A window in Minneapolis fails from ice dams and thermal shock. A window in Phoenix fails from dry heat and dust. A window in Tampa fails from four things working in combination: salt, humidity, UV, and wind-driven rain. Understanding that combination changes how you maintain what you have.
Salt air is the most underrated factor. Homes west of Dale Mabry and along Bayshore Boulevard get a constant fine salt film that settles into track grooves, corrodes hardware, and eats at low-grade sealants faster than anything else. Homes further inland near Carrollwood or New Tampa deal with less salt but more pollen and oak debris in the spring, which clogs drainage holes and traps moisture against frame corners.
Tampa’s humidity means condensation is a normal morning event. The problem is distinguishing harmless surface condensation from condensation trapped between two panes of glass. The first wipes off with a cloth. The second signals a failed seal and will never wipe off, no matter what you do. We’ll show you how to tell the difference.
UV exposure here is relentless. South-facing windows in Westchase, Brandon, and Riverview take direct sun nearly year-round. Low-quality latex caulk breaks down inside of two years under that kind of exposure. High-quality elastomeric or polyurethane sealant lasts five to seven. If your replacement windows are vinyl, the frame itself resists UV well, but the bead around it does not. Keeping that bead intact is the single most effective thing a Tampa homeowner can do to prevent leaks.
And then there’s wind-driven rain. A normal afternoon thunderstorm drops water straight down. A tropical storm pushes it sideways at 40 to 70 miles per hour. Water finds every micro-gap in a sealant line that looked perfectly fine from six feet away. The maintenance task isn’t just checking that sealant exists. It’s checking that it is still bonded tightly enough to handle pressure-driven moisture.
If you’re researching new windows for a home that’s had persistent leak trouble, our Window Replacement in Tampa guide covers product selection, real Tampa pricing, and what properly installed openings should look like.
The Tampa Month-by-Month Maintenance Schedule
Most maintenance checklists tell you to inspect your windows “twice a year” without saying which months. In Tampa, that generic advice fails because our risk calendar is unlike anywhere else in the country. Here is the sequence we recommend to every homeowner we work with.
May: Pre-Storm Sealant and Hardware Check
The Atlantic hurricane season starts June 1. May is your window to catch problems before wind-driven rain tests every weak point on your home. Walk every opening:
- Run a finger along every exterior caulk line. Press gently. If the bead flexes away from the frame or glass, it’s failing.
- Look for hairline cracks in the caulk at the corners of every window and door, front and back of the house.
- Check that weep holes along the bottom of the exterior frame are open. Use a toothpick or compressed air, never a wire that could scratch the frame.
- Open and close every operable window. Sashes should move without grinding. Locks should engage fully.
- Check weatherstripping for gaps or tears, especially along the bottom edge of sliders where sand and grit collect.
October: Post-Season Damage Walkthrough
After hurricane season winds down in November, do a second full pass in late October or early November. This catches damage before the drier winter months let it sit unnoticed.
- Re-inspect every caulk line for new cracks, shrinkage, or areas where water has penetrated and left mineral staining.
- Look for white chalky streaks beneath weep holes. This is evidence water flowed through them, which is good, but it also means the system was tested.
- Check for debris accumulation in the tracks of sliders and hung windows after storm season leaves.
- Test every lock. Coastal salt air corrodes lock cylinders faster than interior ones.
- Inspect impact glass for any star-shaped pitting from windblown debris. Even small pits spread under pressure over time.
January: Dry-Season Lubrication
Tampa’s dry season runs roughly November through April. January is ideal for lubrication because lower humidity means the lubricant cures better and dust doesn’t turn it into gunk immediately.
- Apply a silicone-based dry lubricant to window tracks and sliding door tracks. Avoid oil-based sprays, which trap sand and grit.
- Lubricate hinge points on casement and awning windows with a small drop of white lithium grease.
- Lubricate lock cylinders with a dry graphite spray made for household hardware.
- Wipe tracks down first with a damp cloth, then dry them completely before applying anything.
Quarterly: Track Cleaning
Every three months, vacuum the bottom tracks of every window and sliding glass door. Use the narrow crevice tool on your vacuum, then follow with a damp microfiber cloth. Don’t use water-saturated rags inside the tracks, because standing moisture accelerates frame wear in vinyl channels. For windows that see constant use like a kitchen pass-through or a bedroom slider used for pet access, do this monthly.
Monthly Visual Inspection: A 10-Minute Walkthrough
You don’t need to set aside an entire afternoon for window maintenance. Ten minutes a month, walking the interior perimeter of your home, catches most problems before they become leaks or failed seals. Here is the walkthrough, in order.
- Start at the front door and move clockwise. Windows on the south and west sides of a Tampa home take the most sun and rain. Give them extra attention.
- Run your hand along the interior bottom edge of every window sill. If you feel soft spots, bubbling paint, or swollen wood, water is getting in somewhere above that point.
- Look at the glass at an angle. Fog or haze between the two panes means the argon or krypton seal has failed. On humid Tampa mornings, surface condensation forms on the room-side glass and wipes away easily. Failed-seal haze does not wipe away and often looks like oil or soap scum trapped inside.
- Check window trim for new gaps. Florida’s heat and humidity cause wood and MDF trim to expand and contract seasonally. A new quarter-inch gap at a corner seam likely wasn’t there last month.
- Open any window you haven’t opened in 30 days. Sashes that sit in one position for months can stick or warp slightly in Tampa’s humidity. Operating each window monthly keeps the seal from becoming the culprit you never noticed.
- Inspect screens for rust or holes. A rusted screen corrodes the frame it sits in. If you see rust on a screen, check the frame beneath it closely.
- Look at exterior caulk lines through the glass. On fixed windows you can’t open, looking through the glass at an angle gives a decent view of the exterior bead condition. Cracks and gaps are visible from inside if you know what to look for.
Ten minutes a month catches 80% of what’s going wrong. The seasonal checks in May and October catch the rest. If you find something concerning during the walkthrough, document it with a phone photo before any repair is attempted. That photo becomes your warranty trail.
How to Inspect Sealant and Caulk on Vinyl Frames
Vinyl frames dominate Tampa window replacements because they resist moisture and salt air well. But the frame is only as waterproof as the sealant bead around it. Here’s the protocol we use when we inspect installed windows across Tampa neighborhoods like Hyde Park, Seminole Heights, and South Tampa proper.
First, understand what you’re looking at. A replacement window typically has two sealing areas: the exterior perimeter seal between the new window frame and the rough opening, and the glazing seal that holds the glass unit in the sash. Both fail over time, and in Tampa, the exterior perimeter seal fails first because it takes direct UV, rain, and salt.
When inspecting the perimeter seal:
- Press every linear foot of the bead with your finger. Good sealant has slight flexibility and bounces back. Failed sealant feels brittle, papery, or cracked, and it may pull away with minimal pressure.
- Look for areas where the bead has separated from the vinyl frame, leaving a shadow line. Water enters through that gap even if it looks small from a distance.
- Check the bottom corners of every window first. Water flows downward, and corners are where two expansion joints meet. In Tampa, bottom corners on the windward side of the house fail first.
- On second-story windows, use binoculars from the ground for an initial pass. If anything looks suspicious, get a ladder or call a professional.
For the glazing seal, look at the gasket between the glass and the sash. On vinyl frames, this gasket is usually a dark rubber extrusion. Check that it sits flush against the glass with no tears, no areas where it has pulled inward, and no gaps at the corners. A failed glazing gasket lets water into the sash channel, where it drains through the weep system. That’s the design working correctly. The problem starts if weep holes are clogged, because then water pools inside the sash and eventually migrates into the wall cavity.
For resealing work, use a high-quality elastomeric or polyurethane-based exterior caulk rated for high-UV environments and compatible with vinyl. Cheap painter’s caulk or standard latex will not survive a single Tampa wet season. For a detailed look at what to budget, see our Windows & Doors Cost Breakdown: The Tampa Homeowner’s Reference for 2026. Expect to pay roughly $4 to $12 per linear foot for professional resealing work in Tampa depending on access and existing bead condition. A full reseal of a standard single-story home with 12 to 15 openings typically runs between $600 and $1,800.
If you are planning a full replacement rather than resealing aging frames, our Window Installation in Tampa page explains how we prepare openings, what the written price includes, and how our crews protect floors and furniture during the work.
Impact Glass vs. Standard Insulated Glass: What to Inspect
Most Tampa homeowners now have either impact-rated laminated glass or standard insulated glass that’s been upgraded to meet current code. The maintenance checks overlap, but a few specifics separate the two.
For Impact Glass (Laminated)
Impact glass is two panes of glass bonded with a clear polymer interlayer. That interlayer is what holds the window together when a 2×4 flies into it at 50 miles per hour. The inspection points specific to impact glass are:
- Edge delamination. Look at the edge of the glass where the two panes and the interlayer meet. If you see a milky or cloudy band along the outer edge, the polymer is separating from the glass. This compromises the impact rating even if the window hasn’t shattered.
- Pitting from windborne debris. After any storm, walk your glass and look for pits, chips, or star patterns. A small pit is a stress concentration point that weakens the lamination under future impact.
- Neoprene gasket condition. Impact-rated frames often use a wrap-around neoprene gasket for glass retention. Check for cuts, compression-set marks, or areas where the gasket has sagged out of the glazing channel.
- Sticker and etching integrity. Impact-rated lites carry a permanent label or etching. Don’t remove it. That label is the documentation your insurance company will ask for if you ever file a claim.
For Standard Insulated Glass (Double-Pane, Non-Impact)
Standard insulated glass units are two panes separated by a spacer filled with argon or krypton gas. The main failure mode is seal failure. Here’s what to watch:
- Haze between the panes that doesn’t wipe off. This is the classic sign argon has leaked out and the low-E coating may be oxidizing.
- Visible moisture droplets inside the unit. If you see water beading inside the glass, the seal is gone. This happens more often in Tampa than in drier climates because our humidity pushes inward through every micro-gap.
- Glass deflection. On hot days, press gently on the center of the pane. If the two panes touch, the seal has failed and the unit has lost its insulating gas.
- Butyl rubber squeeze-out. Around the edges of the spacer, look for black rubber material oozing. That’s the primary seal degrading.
Seal failure on a standard insulated unit cannot be repaired in the field. The glass unit must be replaced. If the window itself is still under manufacturer warranty, a failed seal is typically covered. If not, the cost to replace the sealed unit in Tampa usually runs between $180 and $500 per window depending on size and glass coating. If the frame is also failing or the window is more than 15 years old, full replacement often makes more financial sense. We carry ES Windows and ECO Window Systems for clients who want replacement glass with stronger warranty terms and better long-term seal reliability in coastal environments.
For the full picture on what replacement costs look like across different Tampa neighborhoods and home types, see our Lightwell Windows Tampa home page where we publish transparent ranges and walk through what drives the final number.
Sliding Door Hardware Checklist for Tampa Homes
Sliding glass doors in Tampa see year-round daily use. Kids run in and out to the pool in the summer. Dogs push through them in January. In rainy season, they get opened and closed repeatedly between storms. Yet sliders are the most neglected opening on most Tampa homes because they seem to “just work” until they don’t.
Here’s the hardware checklist, in the order sliders usually fail:
- Track drainage holes. Along the bottom track of the sliding door, you’ll find small slots or holes facing the exterior. These drain water that blows under the door during storms. They clog with sand, dead bugs, and pollen. Clear them every month during rainy season with a toothpick or small brush. In Davis Islands and Beach Park, where sand is everywhere, do it every two weeks from June through September.
- Roller condition. Listen while sliding the door. Grinding, scraping, or a chalky vibration means the rollers are worn or the track has sand embedded in it. Rollers on doors that see daily use generally last five to eight years in Tampa. Replacement rollers cost $20 to $60 per door if you do it yourself, $150 to $400 if a technician does the adjustment and replacement.
- Lock alignment. Over time, sliders settle slightly. The lock tongue no longer seats cleanly into the strike plate. The door still locks, but the connection is shallow. Test by locking the door and pulling steadily on the handle. If you feel play, the latch isn’t fully engaged. A security issue, not just a maintenance one.
- Weatherstripping along the leading edge. On the moving panel, check the vertical weatherseal for tears or compression set. A worn seal lets humid air in and conditioned air out. Tampa’s humidity makes poor weatherstripping expensive on your electric bill, not just uncomfortable.
- Track alignment. Stand outside the closed door and look along the top edge. The moving panel should be parallel to the fixed panel. If it isn’t, the rollers need height adjustment. Small misalignment turns into binding and roller damage within a few months.
- Threshold mortar and flashing. Check where the door threshold meets the exterior surface. Flexing, gaps, or crumbling mortar allow water to enter beneath the door. Recaulk the threshold junction as part of your May pre-storm check.
Sliding door hardware maintenance is not a place to improvise. If the rollers are worn or the track is pitted from salt corrosion, a new set of rollers on a bad track will only buy a few months. At that point, replacement is the honest recommendation. Therma-Tru sliding doors and well-installed vinyl sliders are built for this climate, but every sliding door reaches the end of its service life.
If you’re considering replacing a slider rather than endlessly repairing it, our Door Installation in Tampa page details what a new sliding door or French door replacement involves, with the written-price-before-work rule we apply to every job.
Warranty Compliance: What You Must Document vs. What Voids It
Window warranties in Florida are a maze, and what you don’t know can cost you thousands. Here’s what Tampa homeowners need to understand.
What Manufacturers Often Require
- Documentation of regular maintenance. Many high-end manufacturer warranties, including those from Mr-Glass and ES Windows, include a clause requiring evidence the homeowner maintained the visible sealants and operable hardware. Keep a simple log with dates and phone photos. That’s your defense if a warranty claim is denied for “neglect.”
- Cleaning of weep holes. Clogged weep holes are cited in warranty denials more than anything else in Florida. A simple quarterly cleaning with a soft brush and a photo before and after is enough documentation.
- Prompt reporting of seal failure. If you see condensation between panes, document the date you first noticed it and contact the installer or manufacturer within the warranty window. Waiting a year and reporting it later often moves the claim from warranty into disputed territory.
What Voids or Complicates a Warranty
- Removing the impact label or etching. Never cut, scrape, or cover the permanent impact-rating label on laminated glass. It’s not decorative.
- Painting or caulking over weep holes. We see this in older Tampa homes where someone painted the exterior and closed every drainage path without realizing it.
- Improper DIY sealant replacement. If a homeowner applies the wrong sealant type that damages the frame or fails within a season, the window manufacturer will usually disclaim the resulting water damage. The frame warranty covers manufacturing defects, not consequences of a bad reseal job.
- Modifying the frame or sash. Drilling new holes, swapping hardware for non-manufacturer parts, or adding storm covers that bolt through the frame can void every material warranty on the unit.
- Hiring an unlicensed contractor for structural repairs. If load-bearing adjustments are needed around an opening, Florida requires a licensed contractor. Unpermitted work discovered later can invalidate both the window warranty and your homeowner’s insurance position.
What Homeowners Can Do Themselves, Legitimately
- Cleaning tracks, weep holes, and glass.
- Lubricating hardware.
- Inspecting and documenting sealant condition.
- Caulking minor interior gaps with the correct product.
What Should Always Involve a Licensed Pro
- Removing and resealing an entire exterior perimeter.
- Replacing a sealed glass unit inside an existing frame.
- Anything involving structural framing around an opening.
- Installing or replacing a full window or door unit.
Keith Yamada, owner at Lightwell Windows Tampa, tells clients the same thing every time a warranty question comes up: keep a folder. Dates, photos, names. Ten minutes of documentation protects a five-figure window investment better than any conversation after a failure.
Common Mistakes to Avoid
- Ignoring clogged weep holes until water shows up inside. Weep holes are the drainage system. If they’re clogged, water sits inside the frame. It corrodes hardware, accelerates seal degradation, and eventually finds the path of least resistance, which is often your wall cavity.
- Using petroleum-based lubricants on vinyl tracks. WD-40 and similar products attract sand and grit, which grinds against rollers and track surfaces. Use silicone or dry graphite only.
- Caulking over existing failed caulk without removing the old bead. New caulk over failed caulk doesn’t bond. It creates a water channel. Remove the old bead, clean the surface, and apply fresh material.
- Waiting until June to inspect sealant. Once hurricane season has started, you’re in reactive mode. The May inspection is your proactive pass. Miss it and you spend the summer chasing leaks.
- Assuming impact glass never needs inspection. Impact-rated doesn’t mean maintenance-free. Laminated glass fails at the edges, not the center. Edge checks matter.
- Treating a sliding door like a set-and-forget fixture. Sliders are complex mechanical systems that need track cleaning, roller checks, and drainage-hole clearing year-round in Tampa.
- Ignoring condensation between panes as “just Florida humidity.” It’s not. Surface condensation wipes off. Between-pane haze is a failed seal, and it only gets worse.
When to Call a Professional
Some maintenance tasks are clearly yours. Wipe the tracks. Lubricate the locks. Document the caulk. But a few situations demand a licensed eye and a written plan. If your inspection reveals interior water staining around a window, cracked framing, failed impact lamination, sagging slider doors, or a glass unit with visible between-pane fog, call before reaching for the caulk gun. These are symptoms of structural or material failure, not seasonal wear. What looks like a simple reseal from the outside is often a drainage-system problem or an installation defect hiding behind trim. The wrong guess costs more than the service call. Lightwell Windows Tampa offers free estimates in Tampa, with every recommendation priced in writing before any work is scheduled. Call (850) 360-6785 to set up a walkthrough and get a written line-item quote tailored to your home and your windows.
Frequently Asked Questions
Clean window and sliding-door tracks quarterly as a baseline. Homes within a mile of Tampa Bay or the Gulf, including Beach Park, Davis Islands, and Bayshore Beautiful, should clean tracks monthly during hurricane season because salt and sand accumulate faster and grind into rollers. Ten minutes with a vacuum crevice tool and a damp cloth is enough.
Professional resealing of existing window perimeters in Tampa typically runs $4 to $12 per linear foot, with a full single-story home of 12 to 15 openings averaging $600 to $1,800 depending on access, existing bead condition, and whether the old sealant needs complete removal. Call (850) 360-6785 for an exact quote in writing, which is how we work on every job.
Minor interior caulking is generally safe. Exterior perimeter resealing is riskier from a warranty standpoint. If you use the wrong product or apply it improperly and a leak follows, the manufacturer will typically disclaim water damage tied to the reseal. Read your warranty first, and if in doubt, have the work done professionally and documented.
Condensation between the two panes of an insulated glass unit means the hermetic seal has failed and the insulating gas has escaped. It is not normal Florida humidity, which wipes off the room-side surface. A failed seal requires glass replacement, and the cost in Tampa usually runs $180 to $500 per window depending on size and coating.
Yes. Impact-rated laminated glass needs edge inspection for delamination, post-storm pitting checks, and gasket condition monitoring. Standard insulated glass is primarily about watching for seal failure haze between panes. Both benefit from the same track and sealant care, but the failure points are different.
A well-installed, quality vinyl or aluminum replacement window in Tampa typically lasts 20 to 30 years when maintained with the schedule in this guide. Cheap builder-grade windows in coastal exposure can fail in 10 to 15. Installation quality is the single biggest variable, which is why every Lightwell job follows the Cedarwell Care Promise: written price before work, shoe covers and drop cloths on every visit, and a photo of the clean-up before the crew leaves.
The Bottom Line
Tampa window maintenance comes down to timing and honesty. The time to inspect is May, before hurricane season. The time to re-check is October, after it. The January dry season is for lubrication. Between those passes, ten minutes a month catches most failures while they’re still cheap to fix. Know what you can do yourself: tracks, weep holes, lubrication, documentation. Know what needs a professional: resealing, glass replacement, structural work, and full replacements. For more guides & resources, explore our blog. If something in this guide raises a question about your own windows, call (850) 360-6785 and we’ll walk the home with you and put the findings in writing. The estimate costs nothing. The walkthrough tells you exactly where you stand before the next storm season arrives.
Written by Keith Yamada, Owner at Lightwell Windows Tampa, serving Tampa since 2010.
See the difference
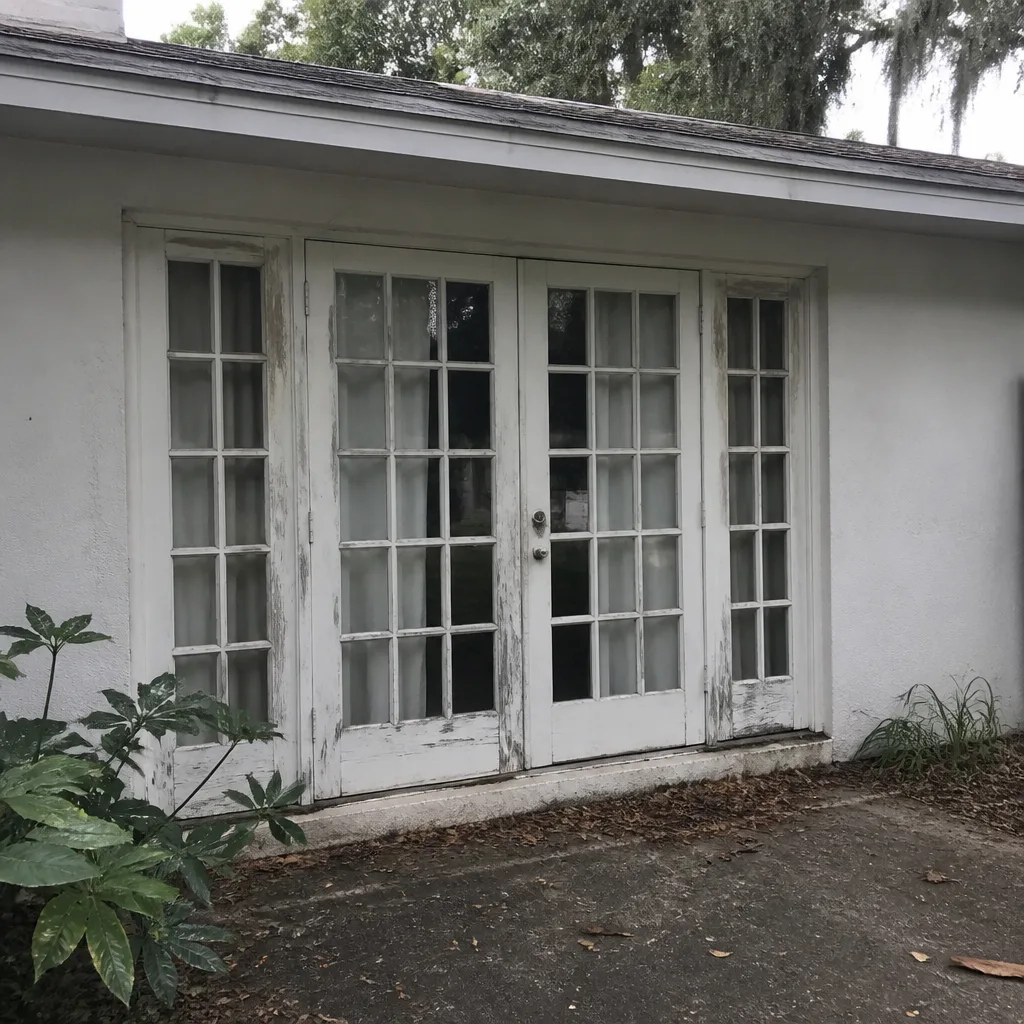 Before
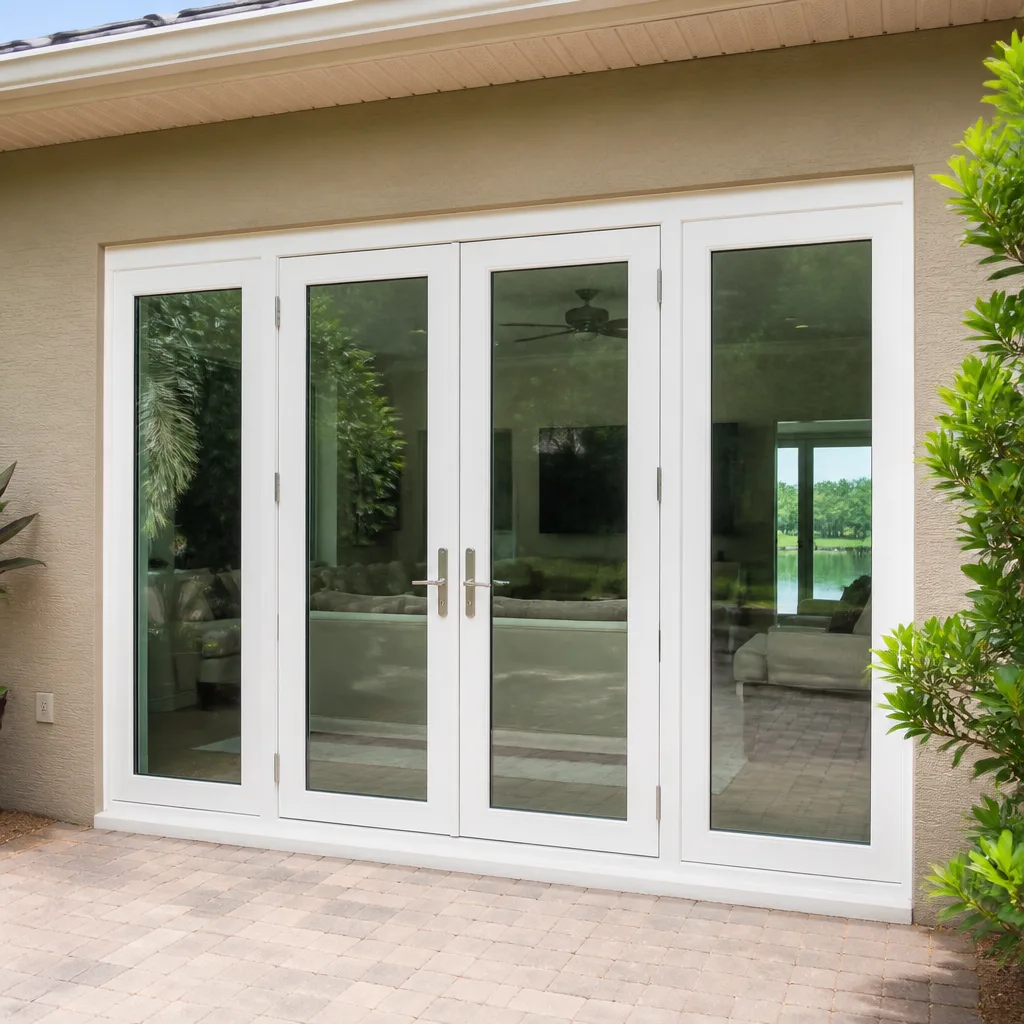 After
After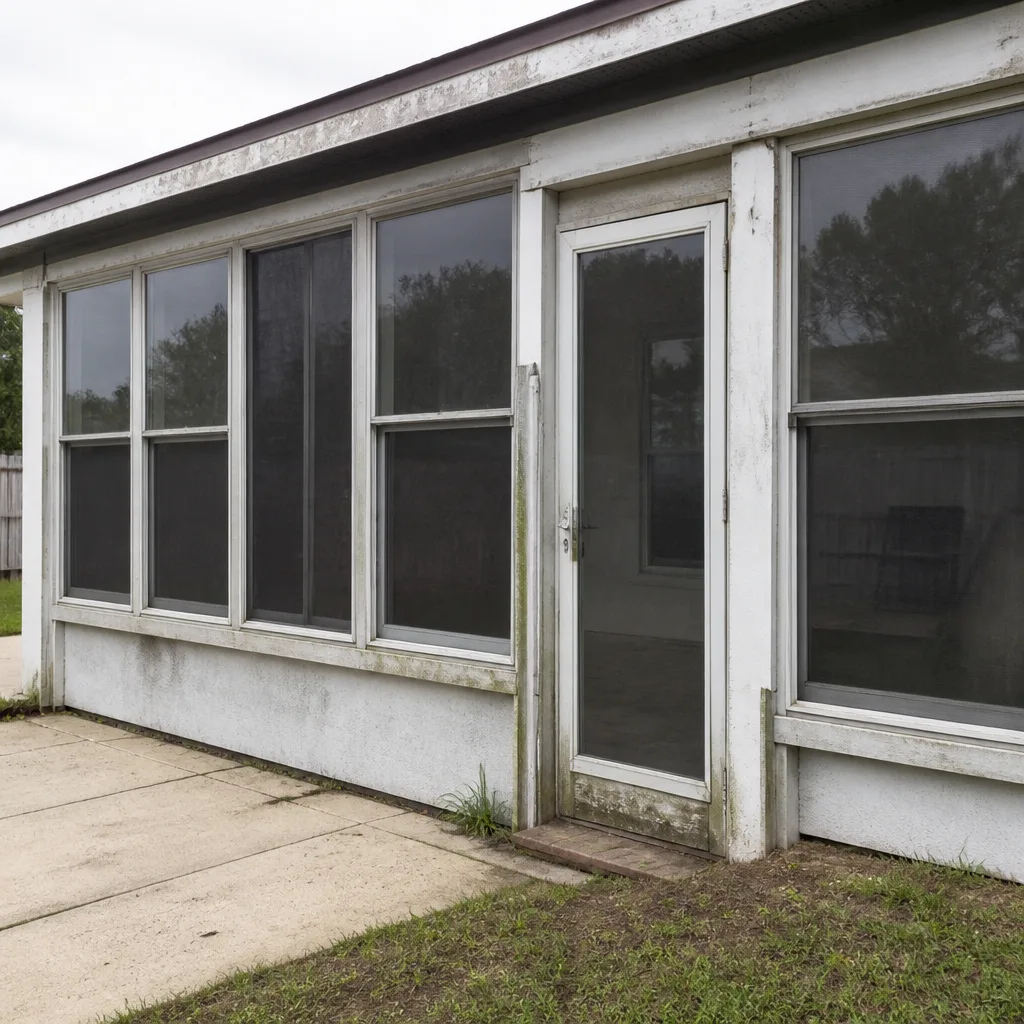 Before
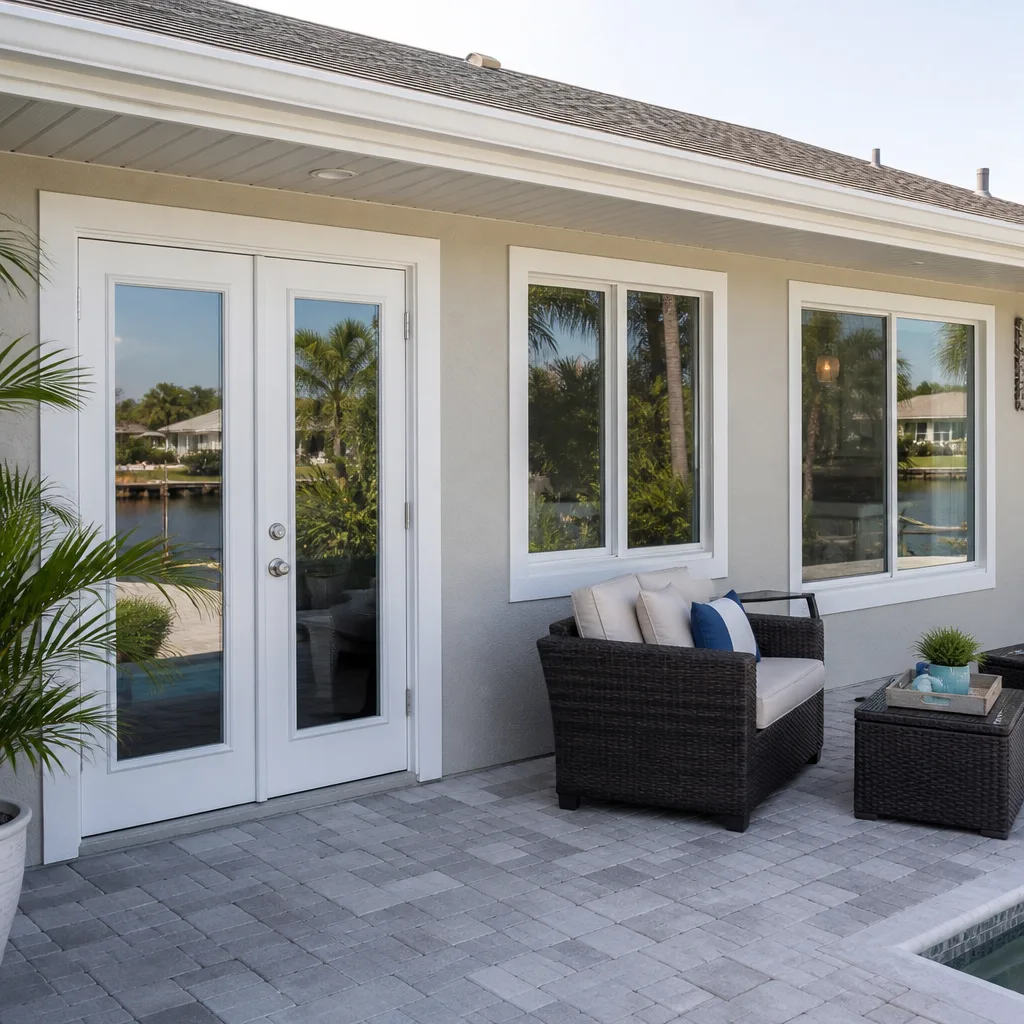 After
After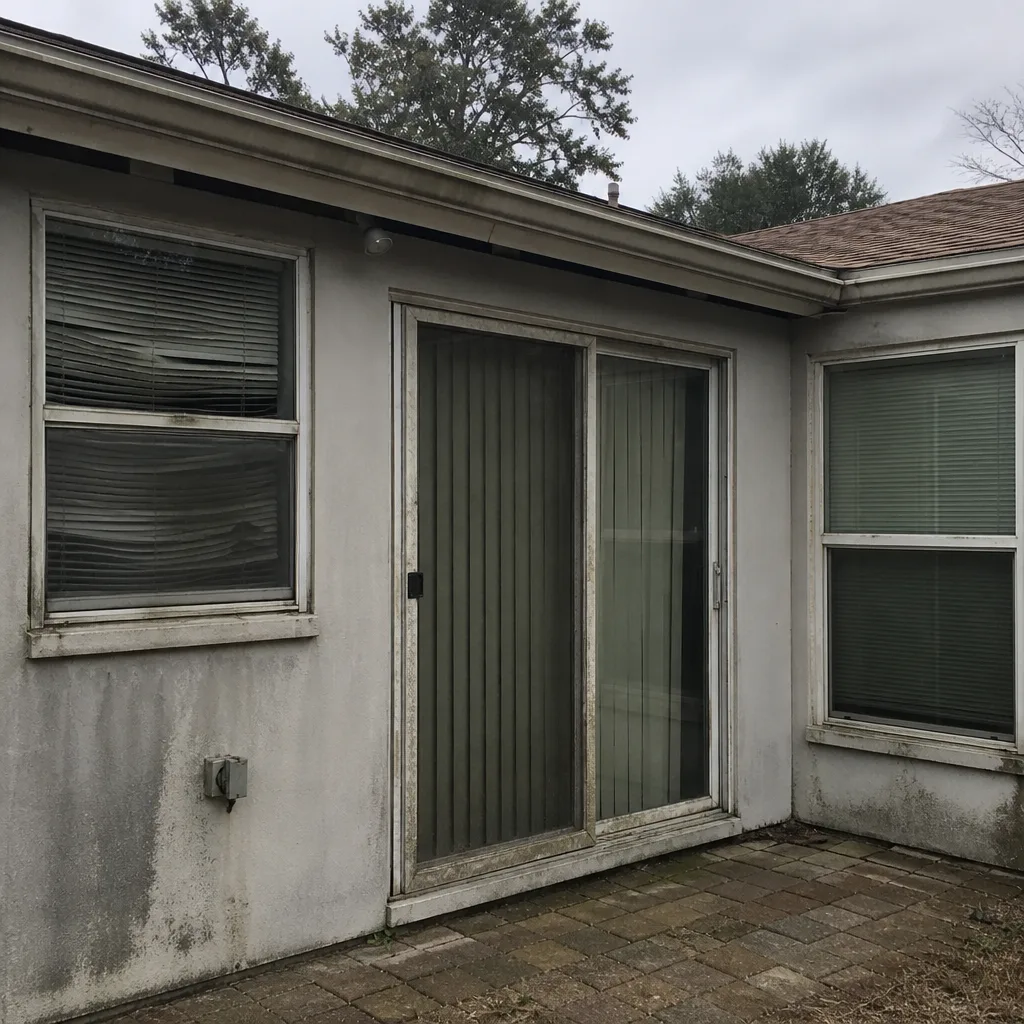 Before
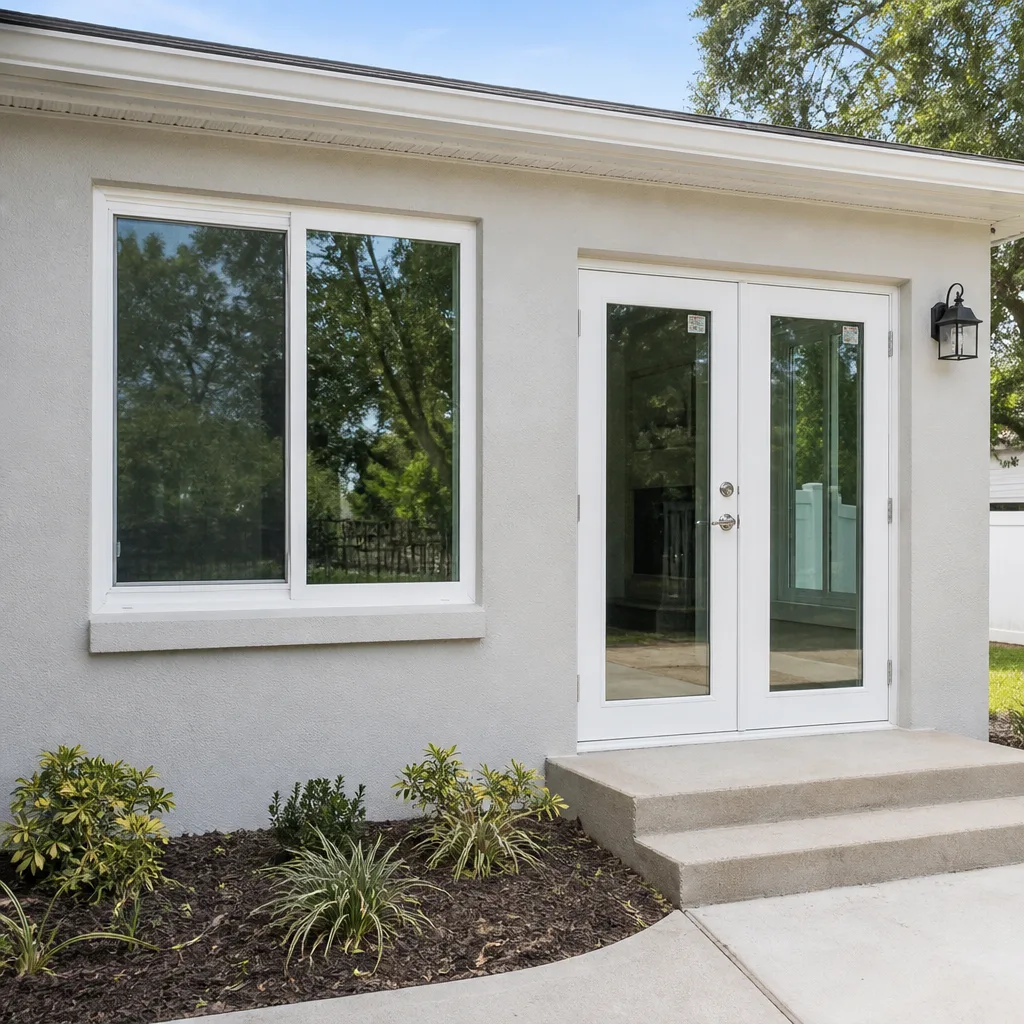 After
AfterSix Reasons Homeowners Choose Lightwell Windows Tampa
Impact systems engineered to design pressures up to +/-100, matched to your wind zone - your openings hold when the storm arrives.
Low-E insulated impact glass from our manufacturer lines commonly cuts monthly cooling bills 20-30%.
Laminated impact glass shuts out up to 40% of outside noise - traffic, neighbors, weather.
Monitoring services run $30-90 a month. Laminated impact glass resists forced entry around the clock, with no subscription.
Florida homeowners average around 25% savings on the windstorm portion of their policy after protecting every opening - some homes qualify for more.
A full impact package upgrades curb appeal, buyer confidence and appraised value in one project.